GIUSEPPE ‘S MASTER CLASS – Cook Pasta – The Italian Way
GIUSEPPE’S ‘WAY TO COOK PASTA’
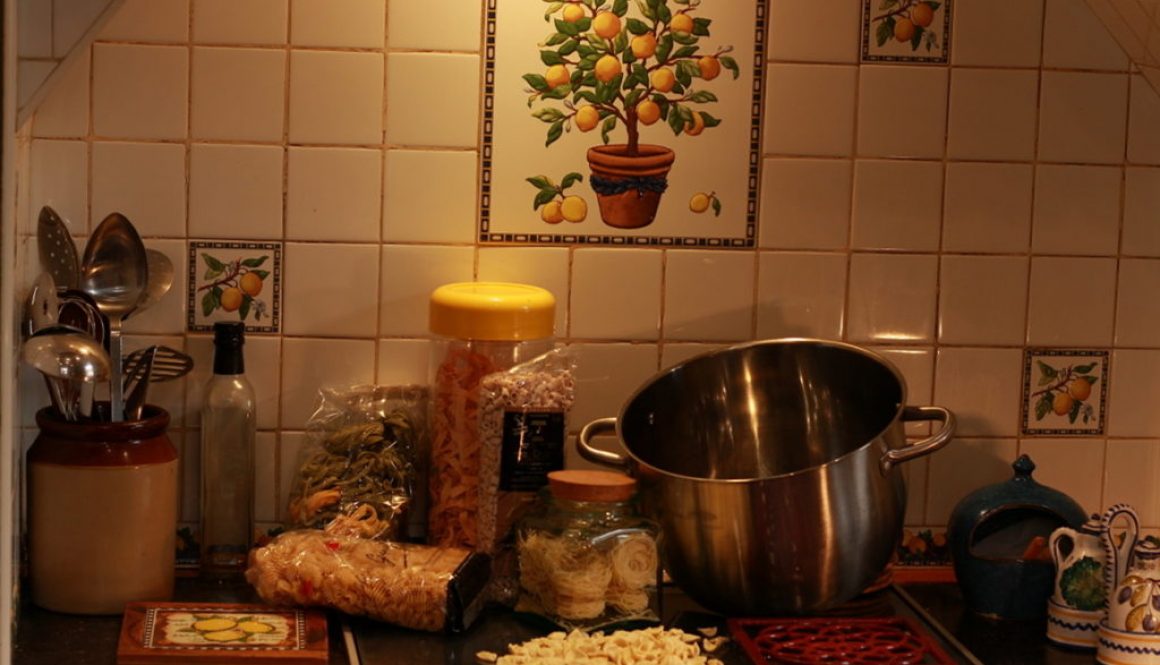
We also bought food supplies including pasta, in order to cook a few of our meals in the saucepans we’d bought in Ikea. There had already been a large pan above the cooker in our kitchen – which turned out to be a (small) pasta pan. Giuseppe taught us how to cook pasta the Italian way: Fast – in gallons of boiling, highly salted water.
THE MANY VARIETIES OF PASTA
We learned something about just how many types of pasta there are, as well as the fancy striped bows and variously coloured ‘wagon wheels’ and other shapes produced for tourists to take home as souvenirs. Italians too, can make or buy various shapes and colours – using spinach, tomatoes, porcini and sometimes lemons to enhance flavour and decorate the plate.
Many of these are regional specialities like my favourite, the tender little Orichietti (little ears) of Apulia; but the main thing to remember is that the tubular shapes, like penne, are generally cooked with thickish, rich sauces that will penetrate them; whereas the thinner, flatter strands like Tagliatelle (Graham’s favourite) and the narrower Tagliolini lend themselves to meaty sauces with maybe chunks of vegetable (and sometimes they are merely mixed into a mixture of pesto and olive oil, or pesto and sparse cream.)
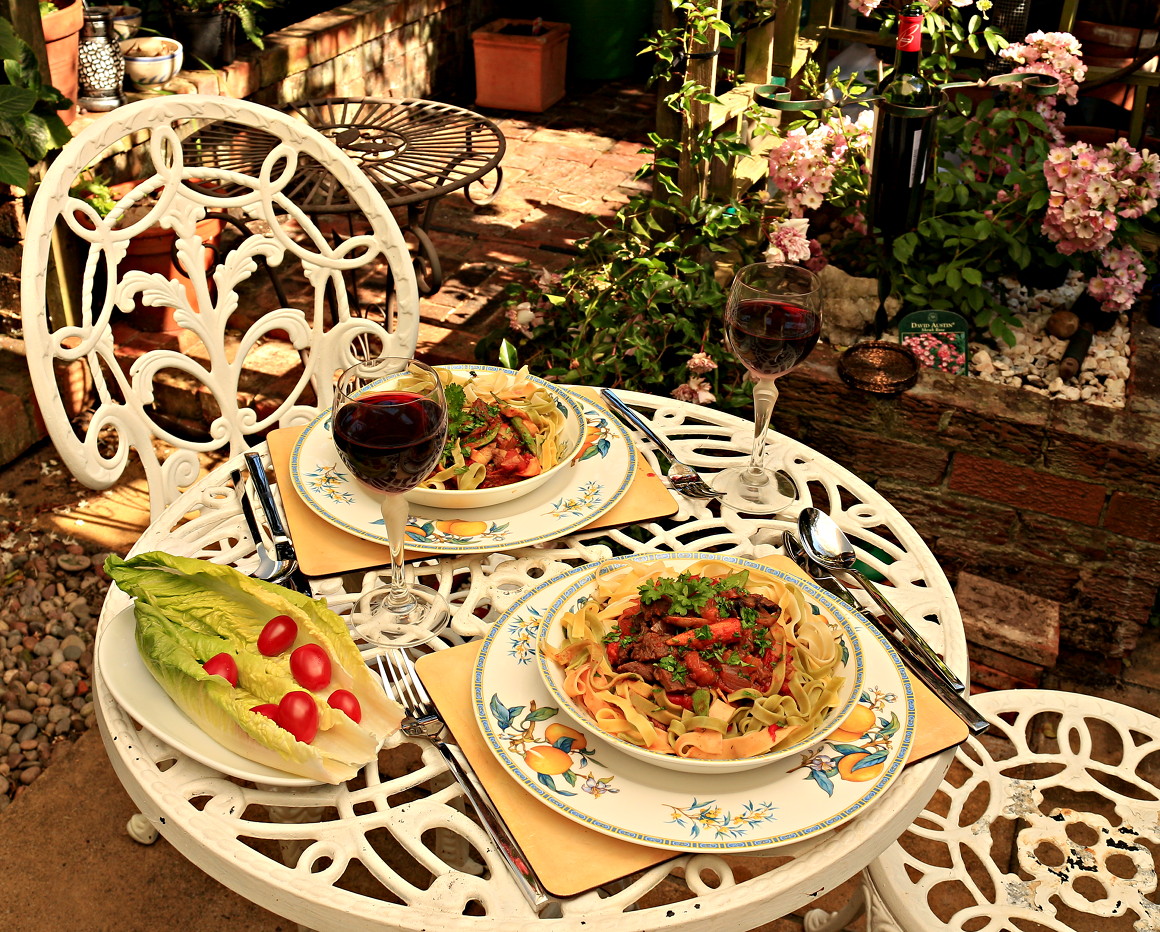
TAGLIATELLE WITH MILANESE SAUCE
We followed this tasty recipe from a cookbook in English:
(The Italian Kitchen Edited by Gabriella Mariotti. ISBN 1 85967 776 2 ) Annis books.

Firstly, we got busy chopping and slicing the ingredients, which we separated into little bowls, in order to time the entry of each vegetable into the pan; starting as usual with the garlic and onion and celery; the others to be added as and when needed to be
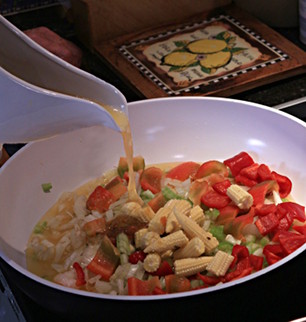
cooked by the end of half-an-hour’s simmering.
No oil this time, just the required amount of chicken stock.
Once all the vegetables were tender, I poured in the tinned tomatoes and added the tomato puree and herbs and seasoned with salt and freshly ground black pepper.
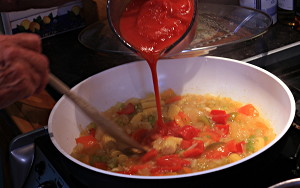
I stirred the mixture from time to time, checking that it was gradually thickening.
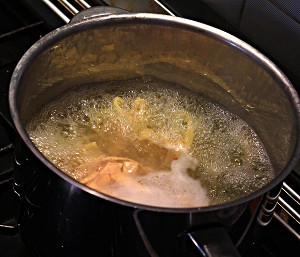
After fifteen minutes I dropped the pasta into very well-salted water, and brought it back to a rolling boil. Remove lid, or it will boil all over your stove top!
Note: If you like your pasta al dente, like most Italians, then it may only require ten minutes cooking, after which it can rest, drained, in the colander. If like Graham and I, you prefer it ‘cooked’ and slightly softer, allow a few minutes extra, checking by pulling out a strand or two.
DO YOU TOP YOUR PASTA WITH SAUCE?
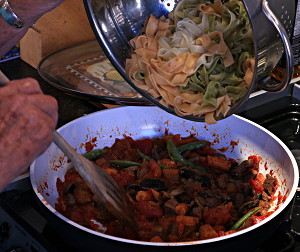
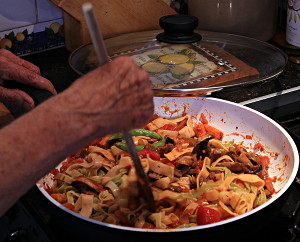
One last tip: Giuseppe was most insistent that the last step was for the thoroughly drained pasta to be tipped into the saucepan containing the sauce or other accompaniment, and thoroughly stirred in before removing portions to plates. He deplored ‘how foreigners tip the sauce over the pasta. An Italian will never do that.’ he said.
Before taking this step I removed a little pasta to ‘edge’ each plate, and a small bowl of sauce for garnish.
IS SPAGHETTI AUTHENTIC ITALIAN PASTA?
Note: Italians rarely eat the dried round spaghetti we use in Britain, holding that it is an American invention.
Very special, from the Northwest, is the luxurious and expensive Tajarin L’Uovo, which needs nine egg yolks to one kilo packet (or is it a half-kilo? You can find out on the Internet). The wine Importers Giordano wines often include a packet of this wire-thin, tasty pasta in their boxes of selected wines.
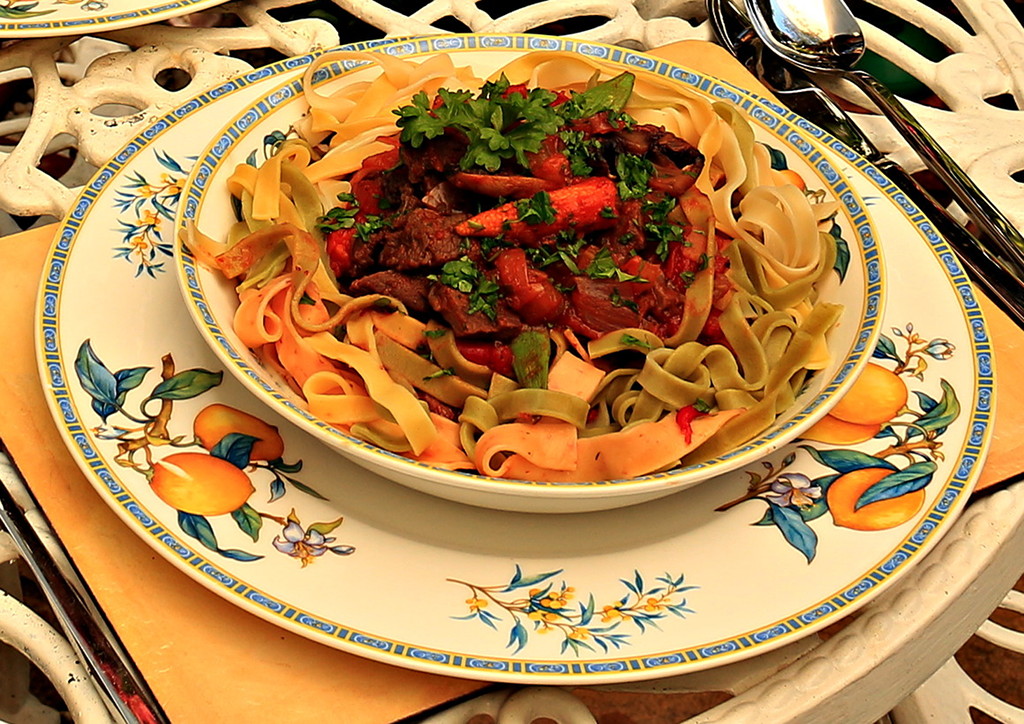
The finished dish – ready to eat. Buon Appetito!
EARLY MORNING BOOST – ESPRESSO!
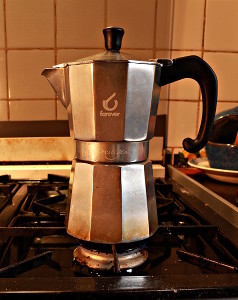
Right from the first day of our stay Graham had got up early and gone downstairs to have an early morning espresso with Giuseppe in his kitchen. He made his coffee in a ‘moka’ pot and almost had a hissy fit when he saw Graham make coffee for the first time, telling him to join him first thing the next morning and he would show him how to make coffee properly in a moka pot (essential, it was clear).
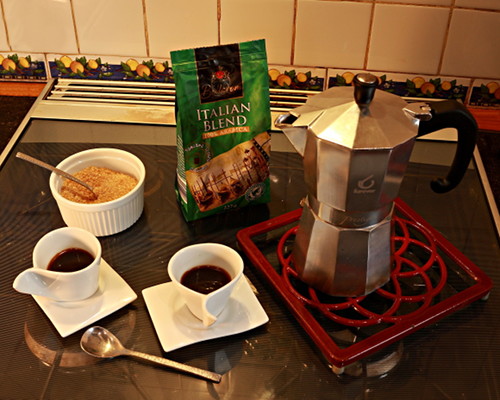
So here are the steps one at a time; since coming home Graham buys already ground coffee (Italian blend in a green pack from Lidl). He swears that it’s pretty good, the coffee being finely ground, as it would be for a proper espresso machine.
NOW GRAHAM TAKES OVER TO TELL YOU HOW GIUSEPPE INSTRUCTED HIM TO MAKE ESPRESSO: –
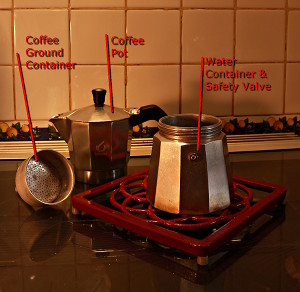
There are many ways of making coffee so I am not taking it for granted you know what a Moka Pot is, though I’m sure everyone has seen them. They work by heating water in the lower sealed chamber of the pot. When the water is heated enough, the fluid expands and is forced up through to a second chamber containing coffee grounds and on into the the actual coffee pot at the top. It sounds complicated but actually it is very simple, though all you need to know is how to operate it and how to keep it clean.
KEEPING THE MOKA POT CLEAN:
There seem to be two schools of thought on this. One is – That the minimum of cleaning is best. Like an old pipe, the more the pot gets coked up, the better the taste gets. I’m of the other opinion; that a certain amount of washing is necessary for several reasons. First – it is best to keep the water chamber free from lime scale, and in hard water areas this will build. Second – Coffee not only stains – it also leaves an oil and this can go rancid and build up, encasing little grounds of coffee in the corners of the pot and under the seal of the second chamber. Also, there are two filter plates that the water and coffee must pass through and if these aren’t kept clean they can become partially blocked and the pot won’t work so efficiently. If residues are left they can make the coffee bitter.
Clean the pot with hot water and not too much detergent and rinse thoroughly. It is not wise to abrade the surface of the metal, especially the inside, with a scouring pad, as the pot is made of aluminum.
As already mentioned there are three components:-
WATER CHAMBER:
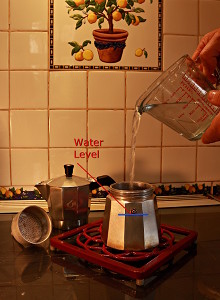
The water container/chamber has a safety valve let into the side. Fill the container with cold water, making sure that the level of the water does not cover the valve set into the side of the container. (See photo and blue line.) This is most important; if for some reason too much pressure builds up because of a blockage this valve will release the pressure in the container. This valve must never be covered with anything either on the inside or the outside.
COFFEE GROUND CUP:
It has a rim and a sieve in the bottom, and underneath a tube a few inches long. The cup fits snugly into the top of the water container.
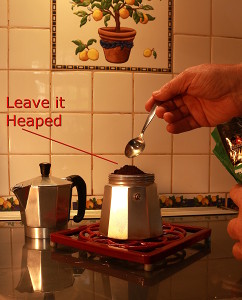
Make sure the rim of the cup fits evenly on the rim of the water chamber and that no foreign object like coffee grounds has got wedged between the two rims. Now spoon in your coffee until it is level with the rim – then put another heap on top.
The reason behind this is simple. When you go into a cafe the coffee is heaped and then pressed down before it is put to the coffee machine. There is no need to do this with the Moka Pot as the top filter-plate in the underside of the coffee pot will do it for you.
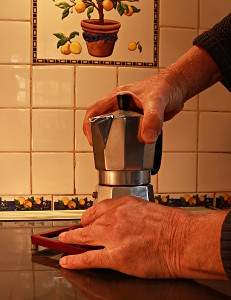
THE COFFEE POT:
The coffee pot with lid screws onto the water chamber. In the underside of the pot is the filter plate already mentioned. This is held in place by a nylon washer which acts as a seal when the two containers are screwed together. Hold the water chamber firmly and screw the pot on until it is tight.
What I’ve written so far is pretty rudimentary, but it should ensure you a nice cup of espresso. Giuseppe was quite adamant about his last instruction:
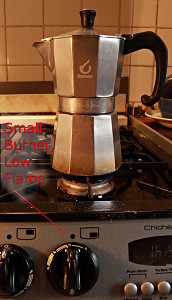
This was not to put the pot on a fierce flame, but to heat the water gently with a small burner so that only the base of the pot saw the flame, and not the sides. This ensured that the pressure built slowly, pushing most of the water up though the coffee and allowing the grounds to swell and release all their flavours before the liquid carried on up into the pot.
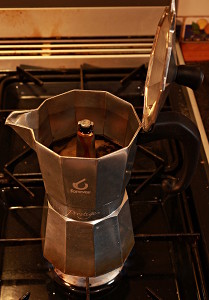
If you open the lid while the pot is on the stove this is what you should see. (be careful – it can spit boiling coffee.)
WE PREPARE FOR ANOTHER ‘VISITOR’
An English friend would arrive a week after Lolly’s departure. Vivien was Graham’s boss when he worked for the National Museums of Liverpool. In the ‘breathing space’ we gradually put all the bed sheets and pillowcases, then batches of our clothes through Giuseppe’s washing machine, to wash out all that dirt and also the Bio laundry products, which had inflamed Graham’s skin. Then on the top-back terrace hung our wet laundry on the short line provided. Graham found some binding string in the basement, which he somehow managed to secure to the wall at one end, and tied to the railing at the other – so the laundry descended in size with the line.
At last we felt that we could spread ourselves, as the flat was now much more comfortable, and Vivien would enjoy her now shipshape room with its French doors onto her very own veranda – and very soon, all the cats. Vivien loves cats…
Text by – Jackie Usher, SWWJ. (aka author Debbie Darkin, & ‘Graham Liverpool’ on Trip Advisor.)
Photographs by – Graham Usher.
![]()

